Showing posts with label DIY. Show all posts

53: Interior Architectural details that make all the difference

Creating an architecturally interesting home involves more than just designing the exterior. The interiors must have architectural elements as well that contribute to the overall look of the home. Each space needs something visually pleasing to stand out in the room, yet complement the other design elements that are placed in the space as well.

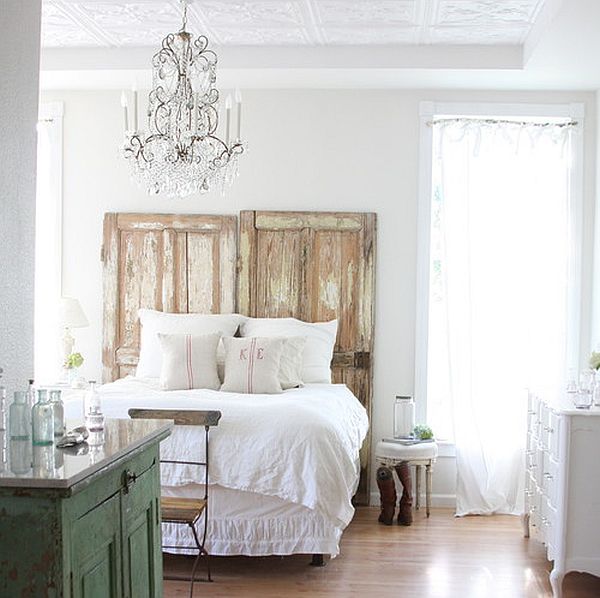
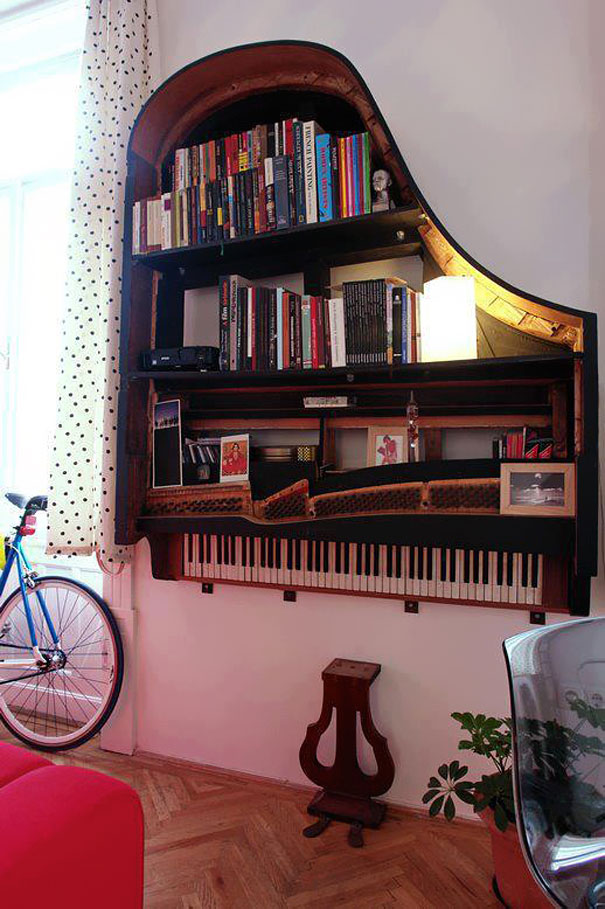
Your old stuffs that no longer serves any purpose around the house, but we still have trouble getting rid of it can be recycled into interiors of the home that can give your rooms great character.
These beautiful tables are made from slabs of selenite, while the other is made of teak. All of the tables sit on chrome bases that create an interesting visual appearance.
Interior brick is a really awesome and fun architectural element they add character and rustic charm to any interior and can make any rooms looks quite industrial.
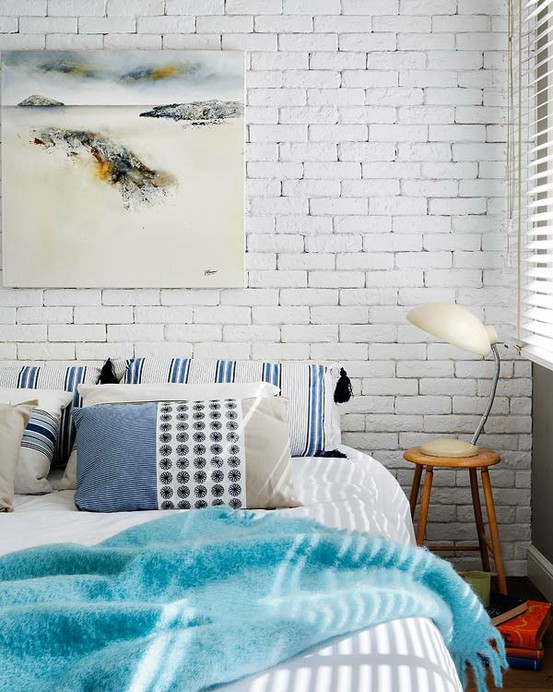
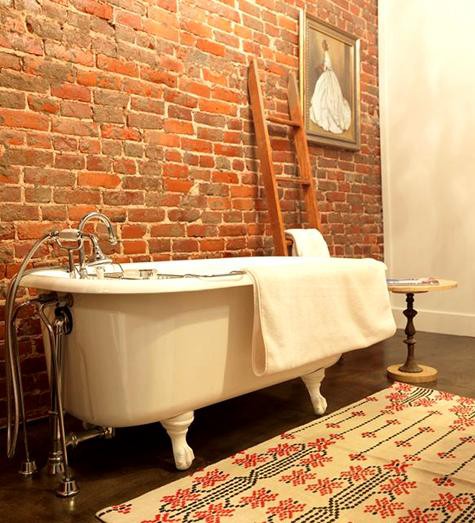
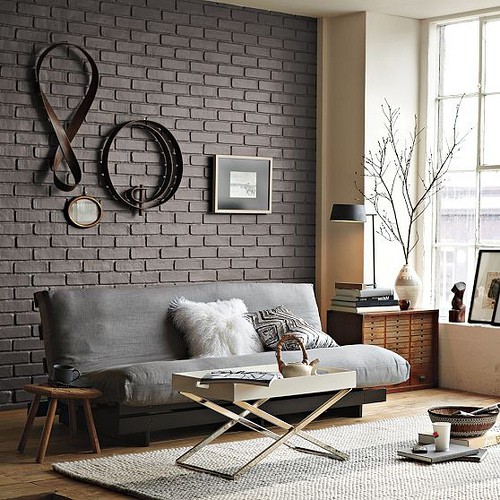
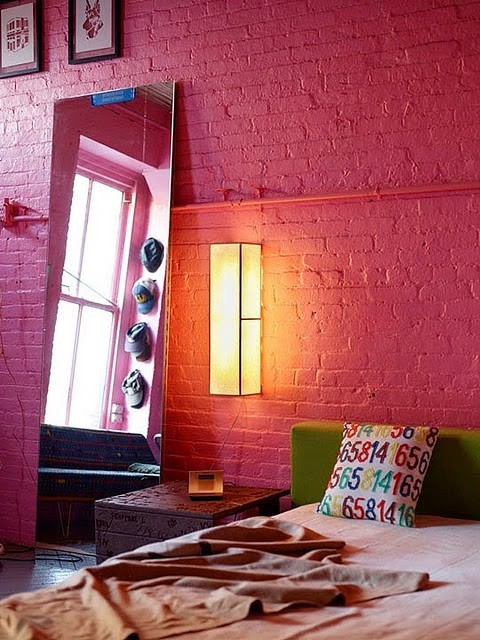
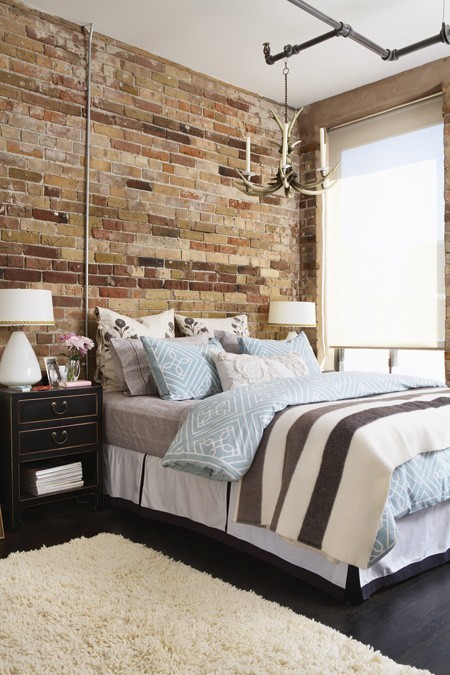
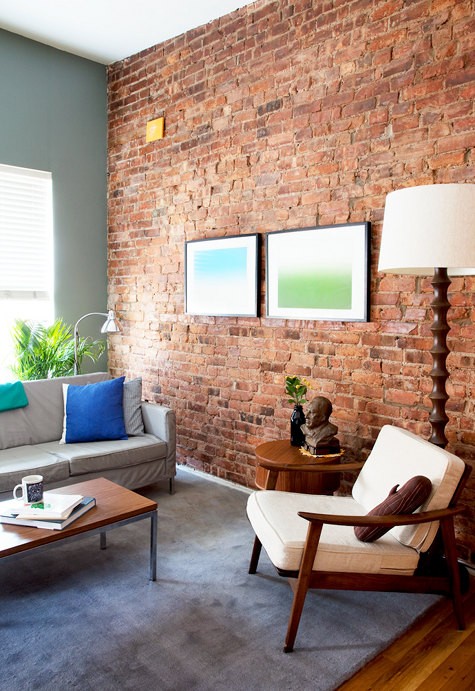
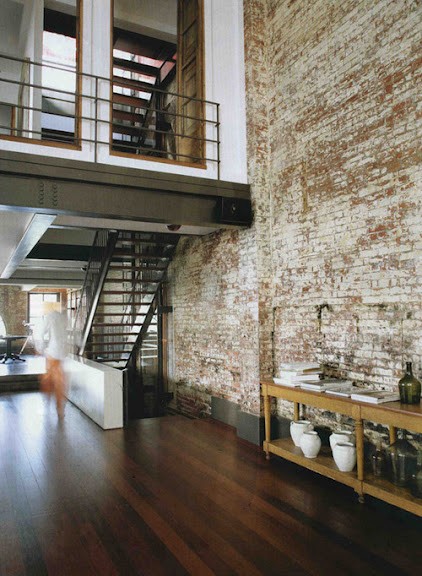
Photo Source: Google.com & DigsDigs

21: DIY Bow Tie Ring

Hey Gals, check this out.

Materials:
ribbons, needle & thread, mighty bond, black rings or DIY rings (check out HERE, on how to do your own recycled blank rings)

 STEP 1: fold the ribbon until it reaches the length you want.
STEP 2: sew the middle part of the ribbon to connect the two ends of it, then pull the thread to tighten it.
STEP 3: to hide the thread use another ribbon, roll it in the middle of the ribbon and glue it.
STEP 4: glue the ring blank.


19: DIY Accessories

OK, relating to my last post which was DIY Home Decors, I tried to make some DIY Accessories from old stuffs of mine and recycled it. So here's how:

Materials:
1. blank rings 2. Bisazza tiles 3. old keychain
4. old keyboard parts 5. old button
6. old spray paints
7. plastic bottles or cans
8. scissor 9. mighty bond

STEP 1: Spray accessories with desired color or available spray colors.

STEP 2: Use the plastic bottle or can to cut out ring like material. Measure your finger, roll and glue it.
(Note: Since I have limited blank rings I made rings out of plastic bottle.)

Step 3: Add the desired embellishment or material.

Here's the final output! :))

And to complete this project I made a Ring Rack to organize my accessories.

Use old box or tray and old Fabrics.

STEP 1: Cut the Fabric that will fit your box and roll it. Make sure rolls are same in size to look neat when arrange in the box.

STEP 2: Stop rolling until it reaches a thickness that will fit your box, then trim the extra fabric.

STEP 3: Now choose fabric to serve as your outer cover. Wrap around the roll. Fold up the sides and secure with hot glue.

STEP 4: Arrange the rolls and make sure to keep them tight and close together to hold your accessories in between them.


Final Output! :))

P.S. You can also put your earrings in the ring rack. =D

18: DIY Home Decors

I was inspired to keep on updating this blog since I see some progress and good feedback. And as I told you before I enjoy telling stories and stuffs about something awesome and ideas that rocks me. Anyways, this entry is about DIY Home Decors. It's time to recycle our old stuff to its new look. And to give you some ideas, here are some inspiration photos. Lets help and Save our Mother Nature. :))

Recycled and Stylish Lighting
Old teapot, pans and utensils
Old washing machine, old tripod & wine bottle corks

old washing machine, old tripod & ping-pong balls

Old washing machine, old tripod & measuring tape
Pull tab pendant

Empty wine bottle
Old bicycle chains chandeliers
Recycled Tiers


Other Recycled Items


Photos Source: Google.com